Use Local Models in VS Code Copilot with LM Studio and Unsloth Studio
How to connect VS Code Copilot Chat to local OpenAI-compatible models served by LM Studio or Unsloth Studio, including the BYOK utility-model setting that prevents agent errors.
On this page 17 sections
Start a Model Server
Open LM Studio or Unsloth Studio, load your model, and start its OpenAI-compatible server. Keep the service running while you use the model in VS Code.
You only need one service running at a time. Start with one, confirm it works, and then add the other.
These are the two models and addresses from my setup. Your values may be different.
| Service | Where it runs | Model | Server address |
|---|---|---|---|
| LM Studio | Another computer on my network | ornith-1.0-35b | http://192.168.0.71:1234 |
| Unsloth Studio | The same computer as VS Code | Qwythos-9B-Claude-Mythos-5-1M | http://127.0.0.1:8888/v1 |
If you use LM Studio on another computer
The LM Studio computer and the VS Code computer must be connected to the same reachable network. LM Studio must allow network connections instead of accepting requests only from itself.
My LM Studio address is:
http://192.168.0.71:1234If you use Unsloth Studio on the VS Code computer
My Unsloth Studio address is:
http://127.0.0.1:8888/v1127.0.0.1 means “this computer,” so this address works only when Unsloth Studio and VS Code run on the same machine.
Copy the server address exactly as your service displays it. Some addresses include
/v1, while others do not.
http://.
Open the VS Code Model Setup
In VS Code:
- Open Copilot Chat.
- Click the current model name to open the model picker.
- Expand Other Models.
- Click the gear icon beside Other Models.
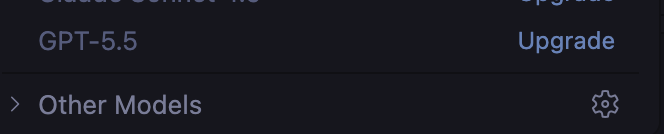
The gear opens the model setup. From this screen:
- Click Add Models.
- Select Custom Endpoint from the menu.
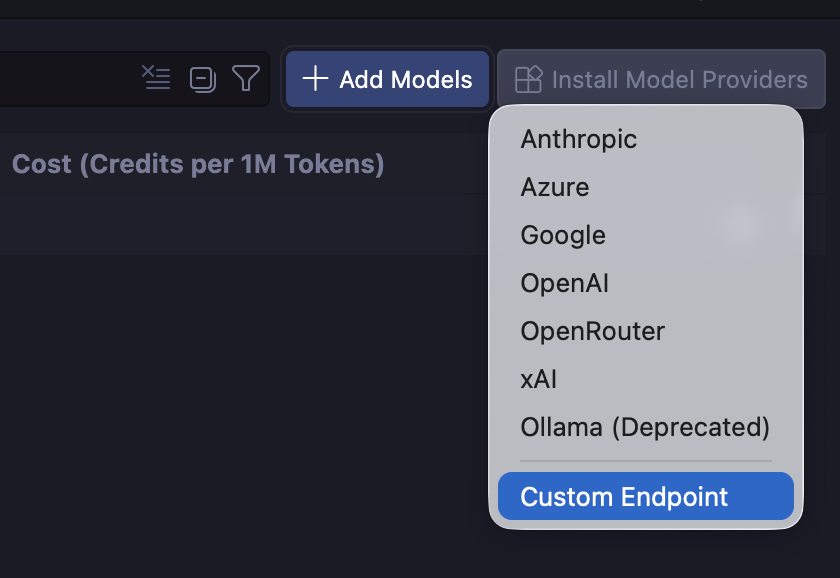
A custom endpoint is simply the server address that lets VS Code send messages to your local model.
Add the Model Configuration
Use the following configuration as a template. It includes both of my services, but you can keep only the block for the service you use.
[
  {
    "name": "lm",
    "vendor": "customendpoint",
    "apiType": "chat-completions",
    "models": [
      {
        "id": "ornith-1.0-35b",
        "name": "ornith-1.0-35b",
        "url": "http://192.168.0.71:1234",
        "toolCalling": true,
        "vision": true,
        "maxInputTokens": 128000,
        "maxOutputTokens": 16000
      }
    ]
  },
  {
    "name": "unsloth",
    "vendor": "customendpoint",
    "apiType": "chat-completions",
    "models": [
      {
        "id": "Qwythos",
        "name": "Qwythos-9B-Claude-Mythos-5-1M",
        "url": "http://127.0.0.1:8888/v1",
        "toolCalling": true,
        "vision": true,
        "maxInputTokens": 128000,
        "maxOutputTokens": 16000
      }
    ],
    "apiKey": "${input:chat.lm.secret.71788f5f}"
  }
]
Before saving, check these values:
- Change each
idandnameif you use a different model. - Change each
urlto the server address shown by your service. - Keep
vendorascustomendpoint. - Keep
apiTypeaschat-completions.
The Unsloth apiKey in my configuration points to a secret saved by VS Code. Do not replace it with a real secret directly in the file. If VS Code asks for a key and your local server does not require one, use the placeholder expected by your server setup.
Save the configuration. If the new models do not appear in the model picker, reload VS Code.
Enable the BYOK Utility Model
This required setting is easy to miss. BYOK means “bring your own key,” which is the name VS Code uses for models supplied through custom providers.
To configure it:
- Open VS Code Settings.
- Search for:
Chat: Byok Utility Model Default- Select Main Agent Model from the dropdown.

Copilot performs small background tasks in addition to answering the main request. This setting tells Copilot to use your selected local model for those tasks too.
Without this setting, agent mode can fail with:

A separately configured Chat: Utility Model or Chat: Utility Small Model overrides this default. For this simple setup, Main Agent Model is enough.
Test the Local Model
Test one service at a time:
- Confirm that LM Studio or Unsloth Studio is still running.
- Return to Copilot Chat in VS Code.
- Open the model picker.
- Select your local model.
- Send a simple message such as:
Explain what this project does. - Switch to agent mode and ask:
List the files in this workspace.
After the configuration is saved, both custom models appear in the Copilot model picker. The provider name is shown beside each model: lm for LM Studio and unsloth for Unsloth Studio. Click the model you want to use; the check mark shows the currently selected model.
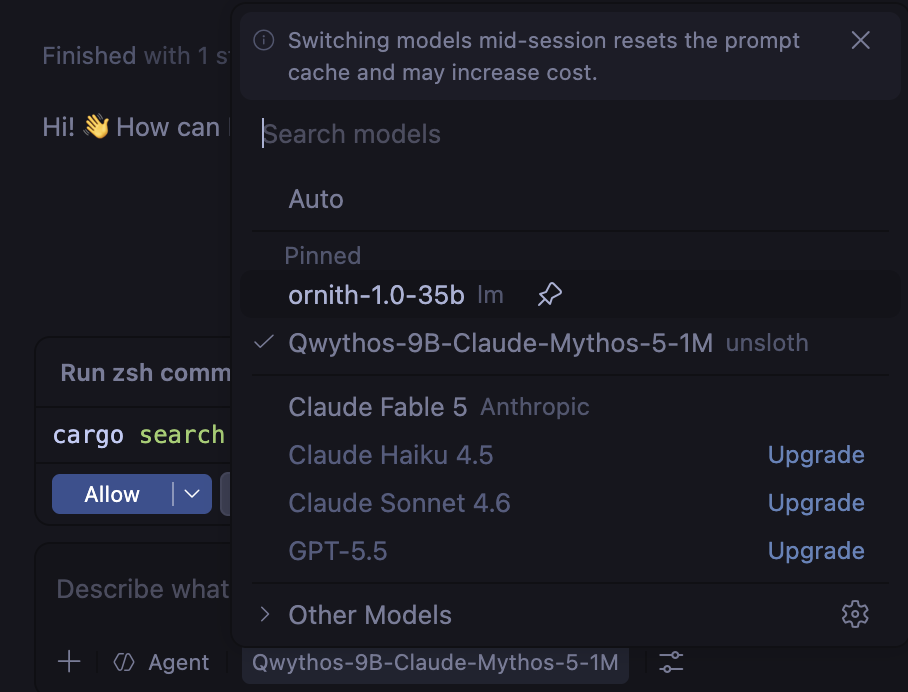
The first prompt checks basic chat. The second checks whether the model can work with Copilot’s tools.
Here is a more realistic agent-mode test. I asked Copilot to check a Rust project for vulnerabilities. The local model read Cargo.toml, ran cargo-audit, and summarized the security findings and suggested fixes.
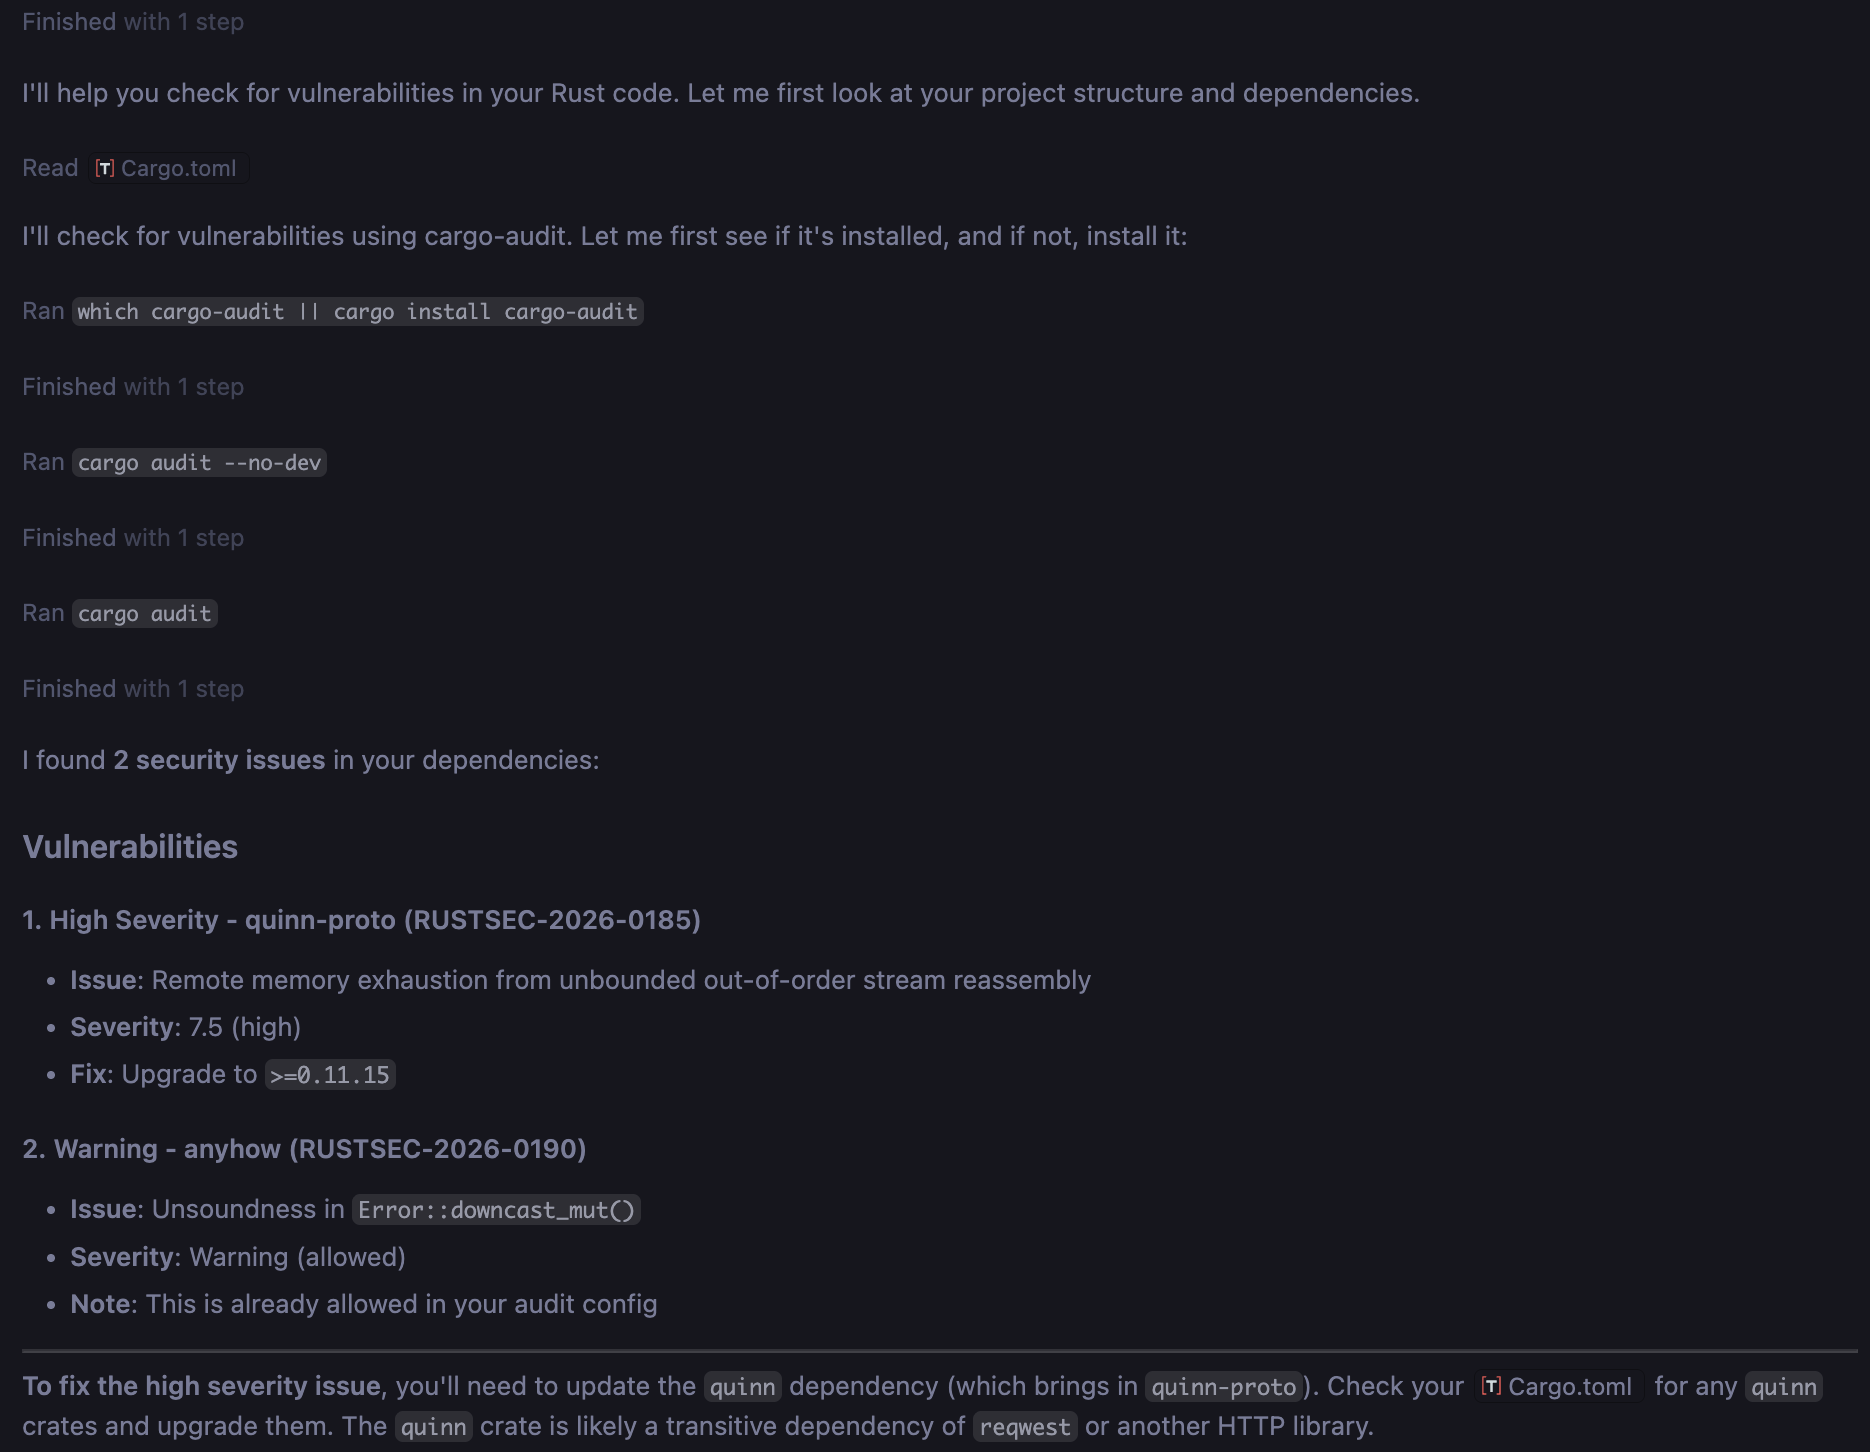
This confirms that the local model can do more than answer a chat message: it can inspect workspace files, request terminal commands, and explain the results. Review each proposed command before allowing Copilot to run it.
If both prompts work, the setup is complete. You can now switch between LM Studio and Unsloth Studio from the Copilot model picker.
What the Configuration Options Mean
You do not need to change these settings when copying my configuration, but it helps to know what they do:
| Option | Plain-language meaning |
|---|---|
vendor: customendpoint | The model comes from a server you provided. |
apiType: chat-completions | VS Code and the server use the same chat-message format. |
url | The address VS Code uses to reach the model server. |
toolCalling: true | The model can ask Copilot to use workspace tools. |
vision: true | The model can receive images. |
maxInputTokens | The maximum amount of text the model can receive. |
maxOutputTokens | The maximum length of the model’s answer. |
These options describe what a model supports; they do not add new abilities. If your model cannot use images or tools, set vision or toolCalling to false. If the model server runs out of memory, lower the token limits.
Troubleshooting
Agent mode shows the utility-model error
Set Chat: Byok Utility Model Default to Main Agent Model, or explicitly configure Chat: Utility Model and Chat: Utility Small Model.
The model does not appear in VS Code
Save the model configuration and reload VS Code. Then reopen Copilot Chat and look under Other Models.
Also check that the JSON has matching brackets and commas. A missing comma can prevent the configuration from loading.
VS Code cannot reach LM Studio
Because my LM Studio endpoint is on another computer, I check that:
- VS Code and the LM Studio machine are on the same reachable network.
- LM Studio allows connections from other devices.
- The firewall on the LM Studio computer allows port
1234. - The URL and port match the values shown by LM Studio.
Do not expose an unauthenticated local inference endpoint to an untrusted network.
The error includes 404 or “not found”
Check the server address. Some services require /v1 at the end and others do not. Copy the address shown by the service and make sure /v1 is not added twice.
Regular chat works, but the agent test fails
First, confirm that the BYOK utility-model setting is enabled. If it is, the model may not support the tool-calling format Copilot expects. Set toolCalling to false and use that model for regular chat, or choose a model with tool support.
Image prompts fail
Only models built to understand images can use image prompts. If your model is text-only, set vision to false.
Responses stop early or the server runs out of memory
Lower maxInputTokens and maxOutputTokens. The values in my configuration may be too large for a different model or computer.
Final Checklist
Before troubleshooting anything advanced, confirm each item:
- The model is loaded.
- LM Studio or Unsloth Studio is running its server.
- The model name and server address match the VS Code configuration.
- The model appears under Other Models.
-
Chat: Byok Utility Model Defaultis set to Main Agent Model. - A normal chat prompt works.
- The agent test works, if the model supports tools.
Once these checks pass, I can select either local model from Copilot’s model picker and use it without changing my normal VS Code workflow.